나만의 컴포넌트 라이브러리 만들어보기
5 min read

해당 글은 Vite+TypeScript+TailwindCSS 환경에서 npm에 배포하는 과정을 담고 있습니다.
기본 환경 세팅
Vite와 관련된 기본 세팅부터 시작하자. 관련 명령어를 실행한다.
npm create vite@latest
yarn create vite
React+TypeScript 환경을 선택한다.
Tailwind 또한 기본 설치 명령어들을 실행한다.
npm install -D tailwindcss postcss autoprefixer
npx tailwindcss init -p
추가된 파일에서 tailwind.config.js 경로를 지정한다.
/** @type {import('tailwindcss').Config} */
export default {
  content: ['./index.html', './src/**/*.{js,ts,jsx,tsx}'],
  theme: {
    extend: {},
  },
  plugins: [],
}./src/index.css에 Tailwind 스타일을 추가한다.
@tailwind base;
@tailwind components;
@tailwind utilities;
스토리북 설치 명령어를 실행한다.
npx storybook@latest init스토리북 관련된 플러그인들도 안내에 따라 설치하자.
설치된 스토리북 관련 파일들에서 preview.ts에 Tailwind 스타일을 추가한다.
import type { Preview } from '@storybook/react'
// add next line
import '../src/index.css'

const preview: Preview = {
  // ...
}
여기까지 진행했으면 기본적인 프로젝트 세팅은 끝난 것이다.
npm 배포 관련 작업
이제부터 npm 배포와 관련된 작업을 진행하자.
현재 하고자 하는 일은 컴포넌트 라이브러리를 만드는 것이다.
그래서 컴포넌트를 루트 경로에 내보내는 작업이 필요하다.
components폴더에 테스트 버튼을 만들어보고 루트 경로의 index.ts로 내보낸다.
components/buttons/JGButton.tsx
const JGButton = (props: React.ButtonHTMLAttributes<HTMLButtonElement>) => {
  const { className, ...restProps } = props

  return (
    <button {...restProps} className={`${className} bg-blue-400 hover:bg-blue-700`} />
  )
}

export default JGButton
루트 경로
export { default as JGButton } from './src/components/buttons/JGButton'라이브러리에서 타입스크립트가 적용되기 때문에 관련된 설정이 필요하다.
vite에서는 이와 관련된 플러그인으로 vite-plugin-dts가 존재한다.
이를 설치해주자.
npm i -D vite-plugin-dts설치된 플러그인을 vite 설정에 추가해야 한다.
vite.config.ts
import { defineConfig } from 'vite'
import react from '@vitejs/plugin-react'
import dfs from 'vite-plugin-dts'

// https://vitejs.dev/config/
export default defineConfig({
  plugins: [react(), dfs()],
})
이제 라이브러리에 대한 설정이 본격적으로 필요하다. 우선 코드는 다음과 같다.
타입 관련 에러가 뜨는 경우 @types/node를 설치해주자.
import { defineConfig } from 'vite'
import react from '@vitejs/plugin-react'
import dfs from 'vite-plugin-dts'
import path from 'path'

// https://vitejs.dev/config/
export default defineConfig({
  plugins: [react(), dfs()],
  build: {
    lib: {
      entry: path.resolve(__dirname, 'index.ts'),
      name: 'OFF-Desgin-System',
      fileName: (format) => `index.${format}.js`,
    },
    rollupOptions: {
      external: ['react', 'react-dom'],
      output: {
        globals: {
          react: 'React',
          'react-dom': 'ReactDOM',
        },
      },
    },
    sourcemap: true,
    emptyOutDir: true,
  },
})
주요 속성을 하나씩 살펴보자.
build.lib에서는 entry, name, fileName이 사용된다.
entry는 라이브러리같은 경우 HTML을 entry로 사용할 수 없어 작성이 필요하다.
name은 노출된 전역 변수로 형식에 umd 혹은 iife가 포함되는 경우 필수이다.
fileName은 패키지 파일 출력의 이름으로 기본 fileName은 package.json의 이름 옵션이다.
다음으로 rollupOptions이 있는데 현재 작업하고 있는 라이브러리는 무조건적으로 리액트에서 사용된다.
그래서 라이브러리를 사용하는 입장에서도 리액트가 사용되기 때문에 라이브러리에서 해당 패키지들을 번들에 포함시킬 필요가 없다.
즉 불필요한 용량을 차지하는 것을 막기 위한 작업이다.
react와 react-dom을 번들에 포함시키지 않는다.
다음으로 tsconfig.json에서 작업을 진행한다.
tsconfig.json
{
"compilerOptions": {
// ... other compiler options
"declaration": true,
"allowSyntheticDefaultImports": true
},
"include": ["index.ts", "src"]
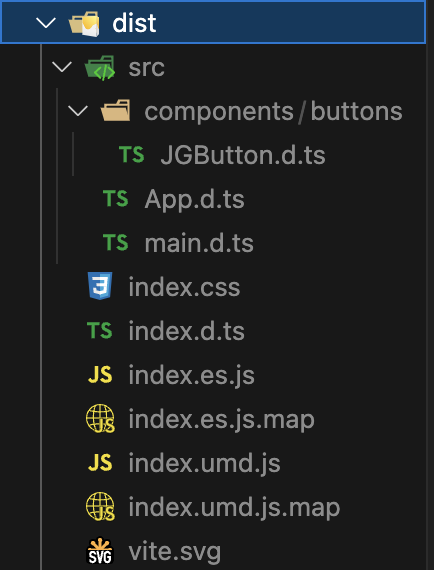
}declaration 속성은 프로젝트 내 ts, js 파일에 대한 .d.ts 파일을 생성한다.
true로 설정되면 다음과 같이 컴파일러가 실행된다.
해당 코드가
export let helloWorld = 'hi'아래와 같은 index.ts 파일의 생성과 함께
export let helloWorld = 'hi'helloWorld.d.ts 파일이 생성된다.
export declare let helloWorld: stringallowSyntheticDefaultImports 속성은 import와 관련된 작업이다.
해당 import를
import React from 'react'다음과 같이 사용하는 것을 허용한다.
import * as React from 'react'다음으로 package.json에서 작업이 진행된다.
우선 간략하게 요약하면 다음과 같은 코드가 추가된다.
{
  "name": "my-lib",
  "type": "module",
  "files": ["dist"],
  "main": "./dist/my-lib.umd.cjs",
  "module": "./dist/my-lib.js",
  "exports": {
    ".": {
      "import": "./dist/my-lib.js",
      "require": "./dist/my-lib.umd.cjs"
    }
  }
}
현재 프로젝트에 맞게 적용하면 다음과 같다.
main, types, exports, files, module을 추가한다.
{
  "name": "off-design-system",
  "private": false,
  "version": "0.0.0",
  "type": "module",
  "main": "dist/index.es.js",
  "types": "dist/index.d.ts",
  "exports": {
    ".": {
      "import": "./dist/index.es.js",
      "require": "./dist/index.umd.js",
      "types": "./dist/index.d.ts"
    },
    "./package.json": "./package.json",
    "./dist/*": "./dist/*"
  },
  "files": ["/dist"],
  "publishConfig": {
    "access": "public"
  },
  "scripts": {
    // ...
  },
  "dependencies": {
    // ...
  },
  "devDependencies": {
    // ...
  }
}
스크립트와 관련해서 Tailwind와 관련된 명령어도 추가해주자.
라이브러리를 사용할 때 스타일 코드가 있어야 하기 때문에 필요하다.
"scripts": {
  // ...
  "build": "tsc && vite build && npm run tailwind",
  "tailwind": "npx tailwindcss -o ./dist/index.css --minify",
  // ...
},
여기까지 했으면 모든 작업을 마무리한 것이다.
npm 배포는 쉽게 할 수 있다.
우선 npm login으로 터미널에서 npm 로그인을 진행한다.
npm login해당 정보를 입력한다.
Username: ID
Password: PW
Email: 회원가입 한 이메일
OTP: 이메일을 입력하고 난 다음 해당 메일에 OTP 번호를 입력하면 됩니다.
npm run build를 통해 라이브러리에 사용될 파일들을 생성한다.
그 다음 npm publish를 입력하면 배포가 진행된다.
여기서 주의할 점은 새롭게 npm에 배포할 때는 이전 버전보다 높아야 한다.
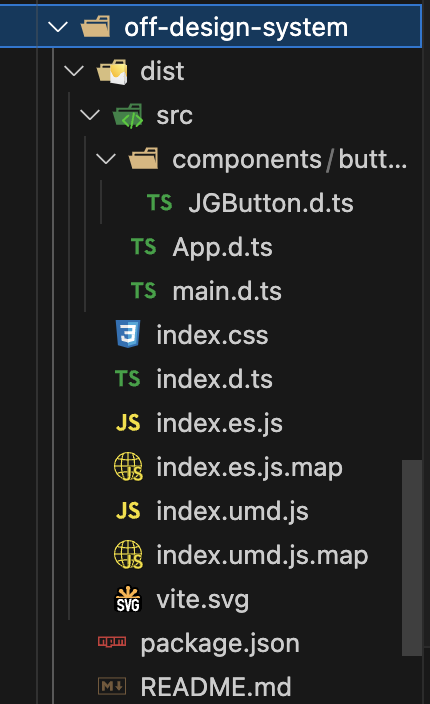
잘 배포가 되었다면 다음과 같이 npm에서 확인할 수 있다.

라이브러리는 다음과 같이 사용할 수 있다.
npm install off-design-system
yarn add off-design-system
라이브러리가 설치되면 node_modules에서 라이브러리 내용을 확인할 수 있다.
여기서 만들어진 index.css를 사용하기 위해 프로젝트에 해당 스타일을 추가하는 코드가 필요하다.
import 'off-design-system/dist/index.css'이제 다음과 같이 사용할 수 있다.
현재 작업은 정말 기본적인 라이브러리 배포와 관련된 내용임을 참고하시길...
빠르게 만들어봤으니 점점 그럴듯한 라이브러리로 만들어나가자..! 😇